Kiddo Fun · Uncategorized

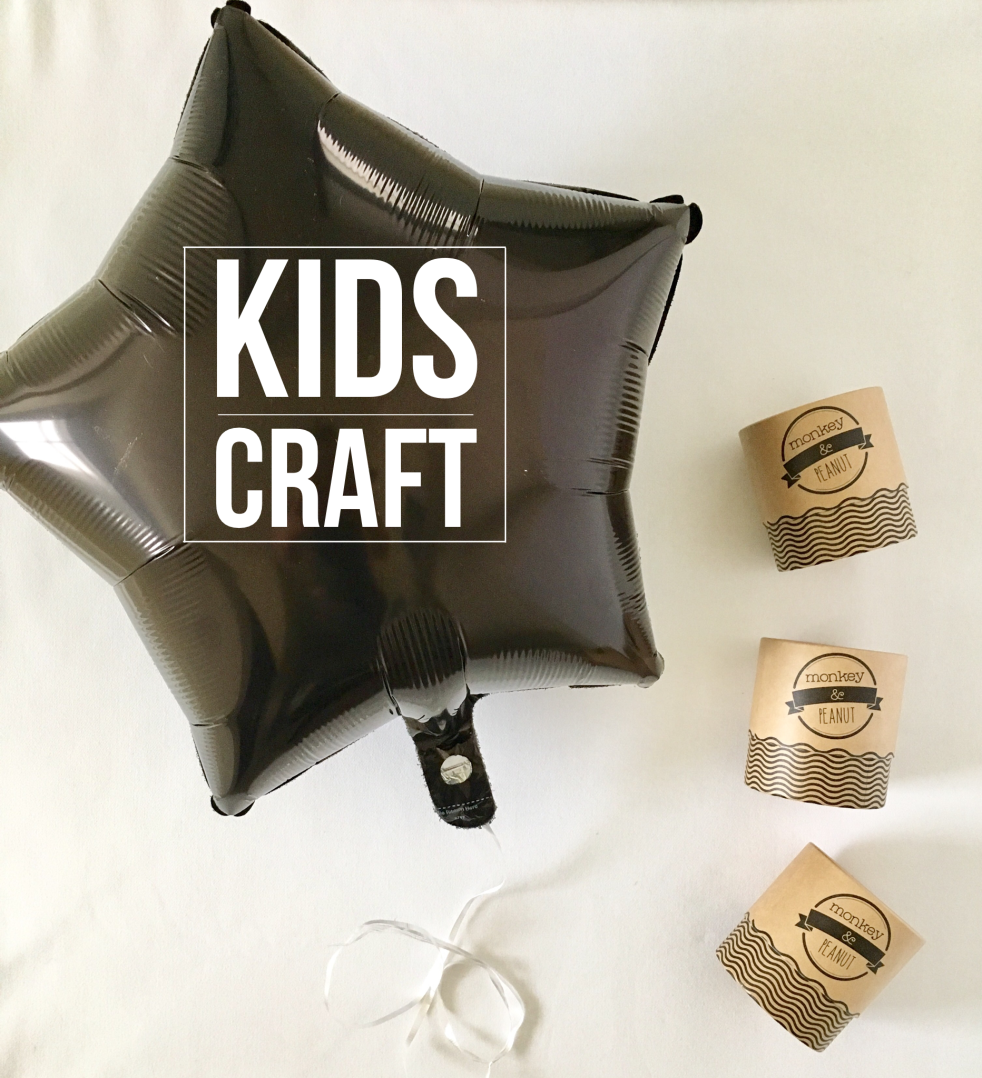
Monkey & Peanut Box Crafting

Photo 2017-03-05, 11 39 39 AM


When we designed the packaging for our children’s belts line, we thought eco-friendly and reusable. We wanted kids to be able to reuse the box with either ideas we gave them or let them get creative and come up with their own inspiration!

The kids and I recently watched the move “Up”…. you know…. the one with the lovely old man that ties 100’s of helium balloons to his house and flies to his paradise. I LOVE this movie although it made me cry. Seems since becoming a mom, I do that quite often! Who’s with me??? Lol.

And so as we watched the show, my son Ethan wanted an air balloon. We had just come back Refresh Kids market and I happened to have a bath tub full of helium balloon left over from our display. And so….. we made an air balloon!


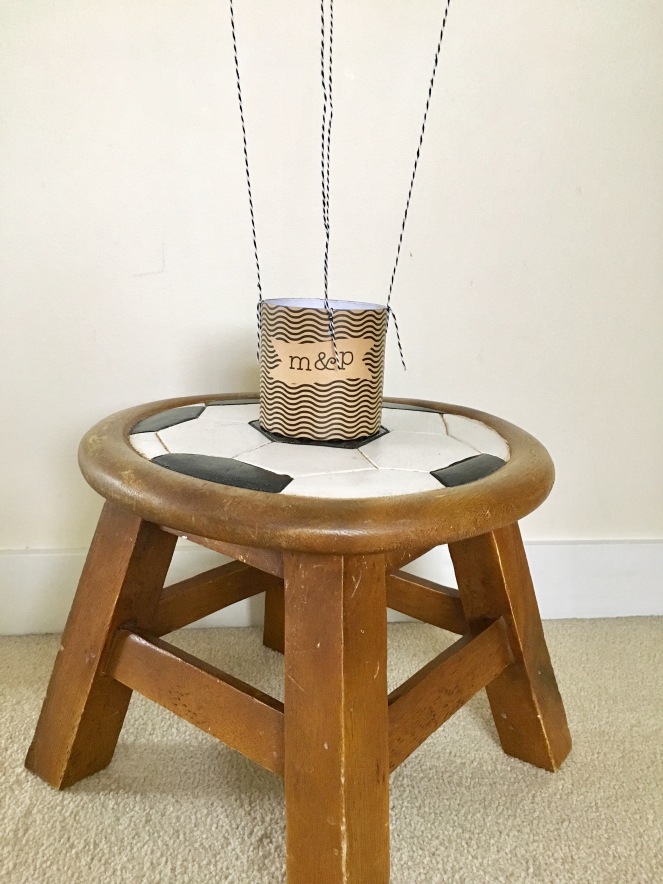
Pictured above: using our M&P box, simply make 4 holes with thread string through.

Photo 2017-03-05, 2 17 00 PM


Photo 2017-03-05, 2 18 54 PM (1)


Photo 2017-03-05, 2 18 33 PM

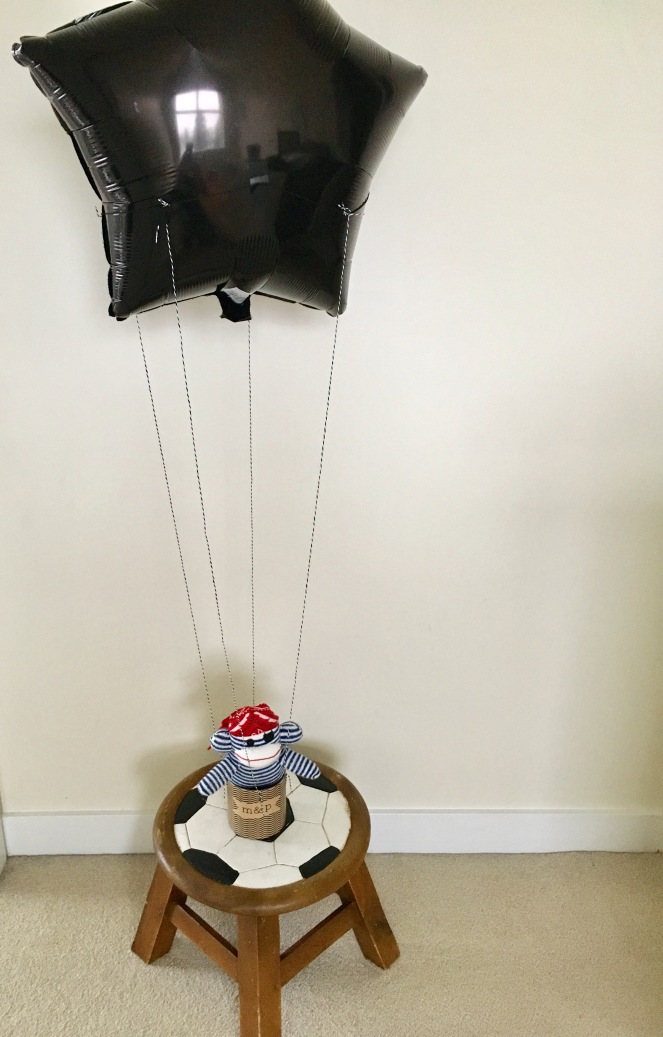
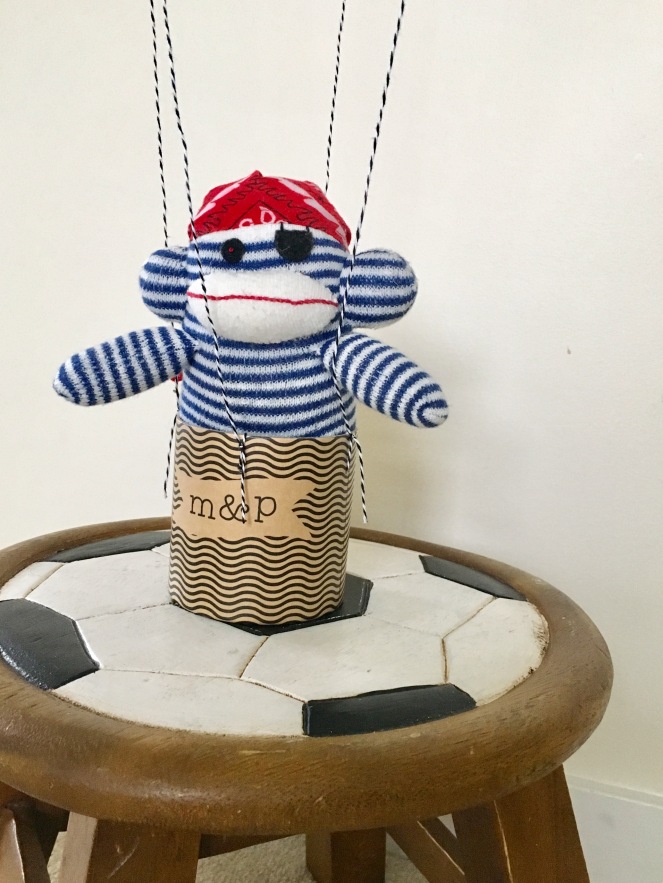
A fun way to reuse our packaging! And you really could do this with anything. If you’ve got left over balloons from a birthday party and a paper cup…. you could do the same craft.

Our kids love crafting and we’re always looking for new ideas and projects! We’d love to hear any ideas and we’ve got a fun kids campaign going! Share your kids ideas, and we will feature it on our blog! We’ll choose a winner and give away a $30 Monkey&Peanut gift card!

Danielle xx


Kiddo Fun

Monster Donuts


Processed with VSCO with f2 preset


We’re getting in the Hallowe’en spirit over here and we’re excited to share this fun treat with you all! I picked up the Today’s Parent magazine yesterday and saw this super fun recipe for Monster Donuts. It’s so easy and the perfect Hallowe’en recipe to do with the kiddos.

Processed with VSCO with g3 preset


We got up early this morning to get all the goodies needed! A trip to Michaels & Safeway and we were set. Here’s what you need:

  1. Premade unglazed donuts (Safeway has them in the bakery section)
  2. Sprinkles
  3. Candy Melt (or you could do a homemade icing, just to stick sprinkles on)
  4. Candy eyes (Michaels OR get creative with black/white icing)
  5. Gummy teeth (I searched everywhere for these, I ended up with gummy worms!


Processed with VSCO with g3 preset


Here’s what you do! Start by cutting small rectangle into the inside of the donut that you can sit the teeth in. This really didn’t work that well for me! I ended up actually just sitting them on top and it was fine. A girlfriend of mine thought a gala apple might work better to cut the triangles out of the teeth to make look like fangs… next time ill try that! But this was probably the hardest part. I couldn’t find the actual “teeth gummies” stated in the original recipe, so I ended up with gummy worms and did my best!

Processed with VSCO with g3 preset

Next, prep your candy melts or icing if you choose and apply a layer onto the top of the donut. Have your sprinkles ready to go for dipping!

And now the teeth and eyes! Apply a thin layer (ha! I used a GOB to make it really stay) to back of the teeth and the eyes. Place on top of the sprinkles.

And that’s it! Super fun, the kiddos loved it. It was hard keeping their tiny mitts off them until after dinner (although they easily snuck a few gummies and candy melt wafers to bounce off the walls for an hour) but they were so excited to eat them! Super easy, super fun and great way to spend some time with kids and get creative!

2016-10-07-11-24-08

Processed with VSCO with f2 preset

Wishing everyone a fun and safe Hallowe’en!

Enjoy.

Danielle xx